Lesson Examples - Elementary
Movie Character Portrait (3rd and 4th Grade)
Lesson Description:
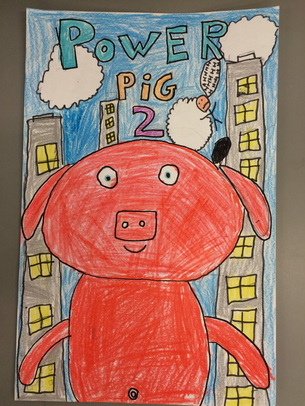
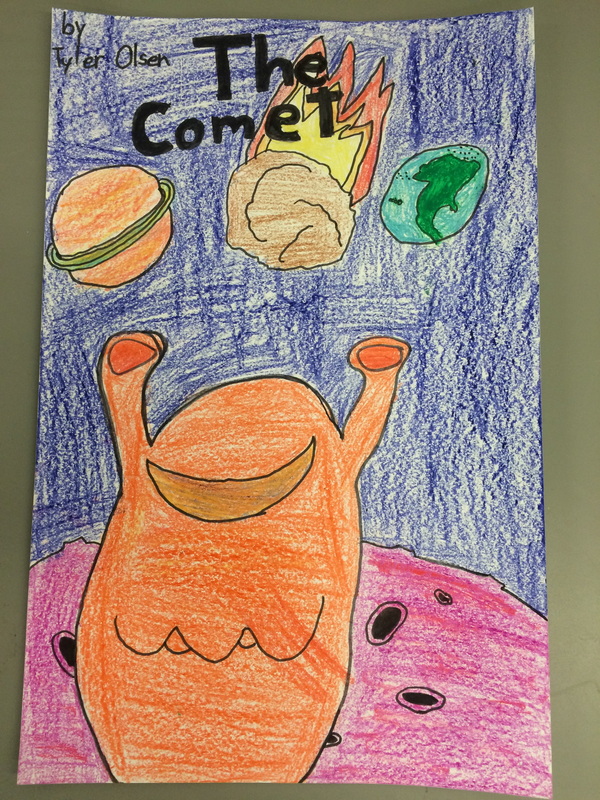
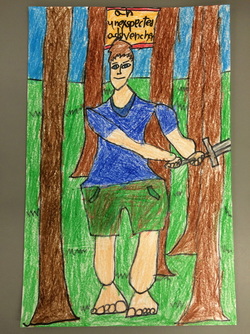
During this lesson students used their creativity to create a new movie character with a story idea. First they filled out a planning sheet to decide who their main character was and a short description of the character’s story. Next they began sketching out multiple ideas of what their character looked like. They then chose their best idea to create a character portrait in the form of a movie poster including details from their story idea in the background. Students used their previously learned skills of drawing realistic people and the resources of how-to-draw animal books available in the classroom to successfully communicate their character’s appearance. Lastly, students explored different uses and techniques with crayons to add color to their posters.
Lesson Objectives with Aligned Standards:
Using planning handout, students will be able to write their movie story idea and main character description. (Bloom’s: Create, Standard: Comprehend, GLE: The identification of characteristics and expressive features in works of art and design help to determine artistic intent, Art Learning: conceptual/ideation/personal grounding, Literacy: written ideas)
Using ideas from the planning handout, students will be able to draw multiple sketches of their character and the composition of their movie poster. (Bloom’s: Apply, Standard: Comprehend, GLE: Artists and viewers determine artistic intent by comparing and contrasting the characteristics and expressive features of art and design, Art Learning: conceptual/ideation/personal grounding)
With chosen idea, students will be able to draw their created character’s face or whole body, a descriptive title or the character’s name, and a background that helps describe the story. (Bloom’s: Create, Standard: Create, GLE: Use media to express and communicate ideas about an issue of personal interest, Art Learning: Materials/Techniques)
Using sharpies and crayons, students will be able to outline their drawing and add color to complete their movie poster. (Bloom’s: Create, Standard: Create, GLE: Materials and processes can be used in traditional, unique, and inventive ways, Art Learning: Materials/Techniques)
With complete movie poster, students will be able to infer about each other’s posters and characters and describe their artistic choices. (Bloom’s: Analyze, Standard: Transfer, GLE: Viewers and patrons make personal meaning and infer artistic intent, Art Learning: Critical refection/ aesthetics/ transfer, Literacy: discussion)
Pre-assessment:
Before the lesson I pre-assessed the students on their knowledge of portraits and drawing a human face and body realistically. These concepts were very prevalent in this lesson so I needed to be aware of the students’ level of understanding so I could address the information accordingly. I asked students to describe what a portrait is to assess if they know it was a picture of a person that could include just the head or the whole body. I used the practice drawings students drew in previous mini-lessons of the human face and body to assess their ability to draw realistically.
Assessment:
For this lesson, students were assessed on how well they met each lesson objective regarding effort, skill and creativity. The following rubric was used.
Lesson Description:
During this lesson students used their creativity to create a new movie character with a story idea. First they filled out a planning sheet to decide who their main character was and a short description of the character’s story. Next they began sketching out multiple ideas of what their character looked like. They then chose their best idea to create a character portrait in the form of a movie poster including details from their story idea in the background. Students used their previously learned skills of drawing realistic people and the resources of how-to-draw animal books available in the classroom to successfully communicate their character’s appearance. Lastly, students explored different uses and techniques with crayons to add color to their posters.
Lesson Objectives with Aligned Standards:
Using planning handout, students will be able to write their movie story idea and main character description. (Bloom’s: Create, Standard: Comprehend, GLE: The identification of characteristics and expressive features in works of art and design help to determine artistic intent, Art Learning: conceptual/ideation/personal grounding, Literacy: written ideas)
Using ideas from the planning handout, students will be able to draw multiple sketches of their character and the composition of their movie poster. (Bloom’s: Apply, Standard: Comprehend, GLE: Artists and viewers determine artistic intent by comparing and contrasting the characteristics and expressive features of art and design, Art Learning: conceptual/ideation/personal grounding)
With chosen idea, students will be able to draw their created character’s face or whole body, a descriptive title or the character’s name, and a background that helps describe the story. (Bloom’s: Create, Standard: Create, GLE: Use media to express and communicate ideas about an issue of personal interest, Art Learning: Materials/Techniques)
Using sharpies and crayons, students will be able to outline their drawing and add color to complete their movie poster. (Bloom’s: Create, Standard: Create, GLE: Materials and processes can be used in traditional, unique, and inventive ways, Art Learning: Materials/Techniques)
With complete movie poster, students will be able to infer about each other’s posters and characters and describe their artistic choices. (Bloom’s: Analyze, Standard: Transfer, GLE: Viewers and patrons make personal meaning and infer artistic intent, Art Learning: Critical refection/ aesthetics/ transfer, Literacy: discussion)
Pre-assessment:
Before the lesson I pre-assessed the students on their knowledge of portraits and drawing a human face and body realistically. These concepts were very prevalent in this lesson so I needed to be aware of the students’ level of understanding so I could address the information accordingly. I asked students to describe what a portrait is to assess if they know it was a picture of a person that could include just the head or the whole body. I used the practice drawings students drew in previous mini-lessons of the human face and body to assess their ability to draw realistically.
Assessment:
For this lesson, students were assessed on how well they met each lesson objective regarding effort, skill and creativity. The following rubric was used.
|
|
Symbolic Masks (2nd Grade)
Lesson Description:
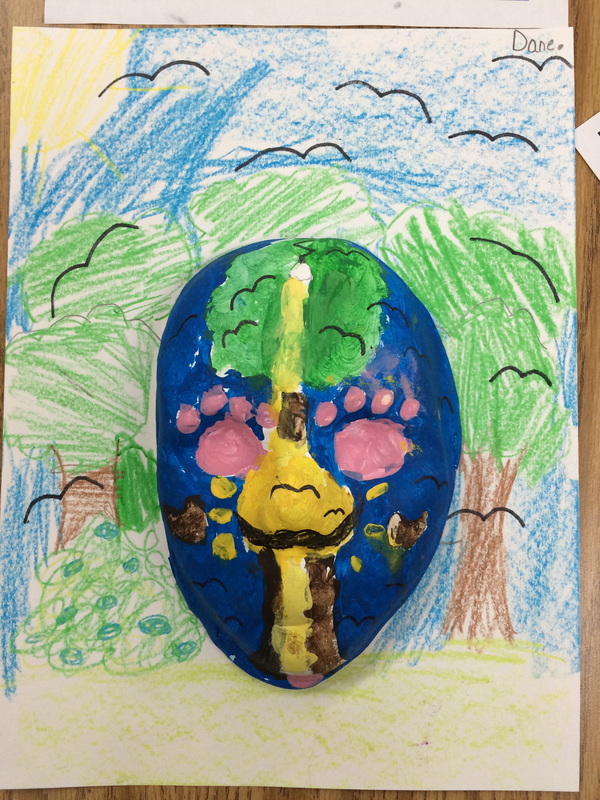
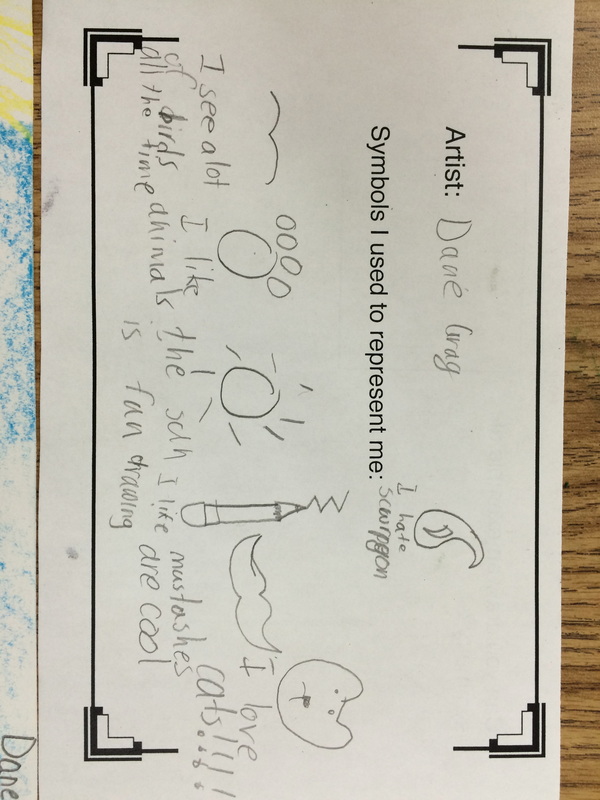
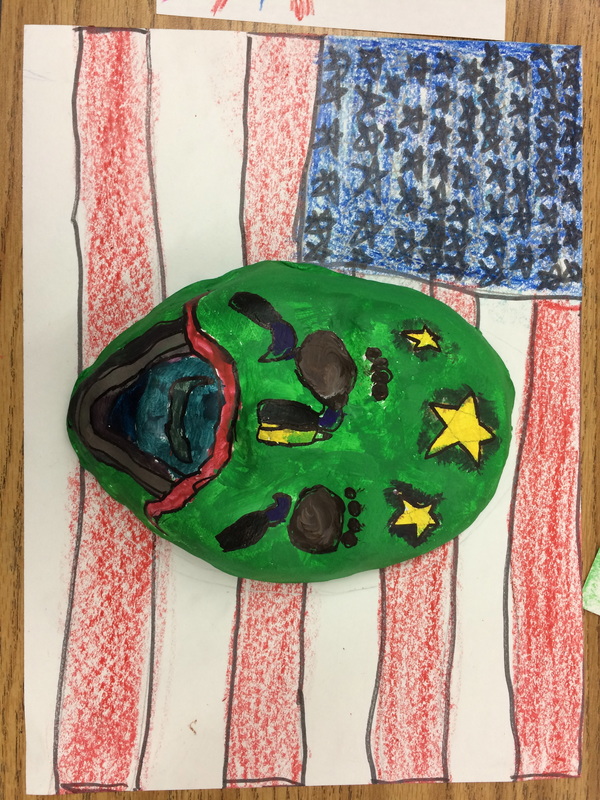
To begin this lesson students began brainstorming aspects about themselves and then turned them into symbols that could represent themselves. After drawing multiple symbols, students then used a clay slab and mask mold to create a mask form that they would later paint. After the masks were fired and painted white students created plan drawing of their mask design. Students drew designs that were symmetrical, repeat the concept they were introduced to in the previous lesson. After adding color to their plan, students painted theor symmetrical mask design using the symbols that represented them. Students colored paper to place under their masks and made a 'key' to explain how the symbols on their mask represented them.
Lesson Objectives with Aligned Standards:
Using the handout, students will be able to brainstorm aspects of themselves and how to show that using a symbol. (Bloom’s: Create, Standard: Create, GLE: Use familiar symbols to identify and demonstrate characteristics and expressive features of art and design, Art Learning: conceptual/ideation/personal grounding, Literacy: list)
Using the back of the handout, students will be able to plan and sketch a symmetrical design including the symbols for themselves for their mask form. (Bloom’s: Create, Standard: Create, GLE: Use familiar symbols to identify and demonstrate characteristics and expressive features of art and design, Art Learning: conceptual/ideation/personal grounding)
Using clay, students will be able to create a mask form using the mask mold as a base. (Bloom’s: Apply, Standard: Comprehend, GLE: Characteristics and expressive features of art and design are used to identify and discuss works of art, Art Learning: Materials/Techniques)
With clay mask form and acrylic paint, students will be able paint their symmetrical and symbolic design. (Bloom’s: Create, Standard: Comprehend, GLE: Artists make choices that communicate ideas in works of art, Art Learning: Materials/Techniques)
With completed mask, students will be able to write about the symbol they used in their mask and how it represents them. (Bloom’s: Analyze, Standard: Reflect, GLE: Visual arts use various literacies to convey intended meaning, Art Learning: Critical refection/ aesthetics/ transfer, Literacy)
Pre-assessment:
I used the results of the previous lesson, symmetrical paper cutout masks, to pre-assess the students' knowledge of symmetry. I also questioned students about symbols to assess any previous knowledge.
Assessment:
For this lesson, students were assessed on how well they met each lesson objective regarding effort, skill and creativity.
Lesson Description:
To begin this lesson students began brainstorming aspects about themselves and then turned them into symbols that could represent themselves. After drawing multiple symbols, students then used a clay slab and mask mold to create a mask form that they would later paint. After the masks were fired and painted white students created plan drawing of their mask design. Students drew designs that were symmetrical, repeat the concept they were introduced to in the previous lesson. After adding color to their plan, students painted theor symmetrical mask design using the symbols that represented them. Students colored paper to place under their masks and made a 'key' to explain how the symbols on their mask represented them.
Lesson Objectives with Aligned Standards:
Using the handout, students will be able to brainstorm aspects of themselves and how to show that using a symbol. (Bloom’s: Create, Standard: Create, GLE: Use familiar symbols to identify and demonstrate characteristics and expressive features of art and design, Art Learning: conceptual/ideation/personal grounding, Literacy: list)
Using the back of the handout, students will be able to plan and sketch a symmetrical design including the symbols for themselves for their mask form. (Bloom’s: Create, Standard: Create, GLE: Use familiar symbols to identify and demonstrate characteristics and expressive features of art and design, Art Learning: conceptual/ideation/personal grounding)
Using clay, students will be able to create a mask form using the mask mold as a base. (Bloom’s: Apply, Standard: Comprehend, GLE: Characteristics and expressive features of art and design are used to identify and discuss works of art, Art Learning: Materials/Techniques)
With clay mask form and acrylic paint, students will be able paint their symmetrical and symbolic design. (Bloom’s: Create, Standard: Comprehend, GLE: Artists make choices that communicate ideas in works of art, Art Learning: Materials/Techniques)
With completed mask, students will be able to write about the symbol they used in their mask and how it represents them. (Bloom’s: Analyze, Standard: Reflect, GLE: Visual arts use various literacies to convey intended meaning, Art Learning: Critical refection/ aesthetics/ transfer, Literacy)
Pre-assessment:
I used the results of the previous lesson, symmetrical paper cutout masks, to pre-assess the students' knowledge of symmetry. I also questioned students about symbols to assess any previous knowledge.
Assessment:
For this lesson, students were assessed on how well they met each lesson objective regarding effort, skill and creativity.
|
|
|
|
|
|
Mad Scientist Creation (1st Grade)
Lesson Description:
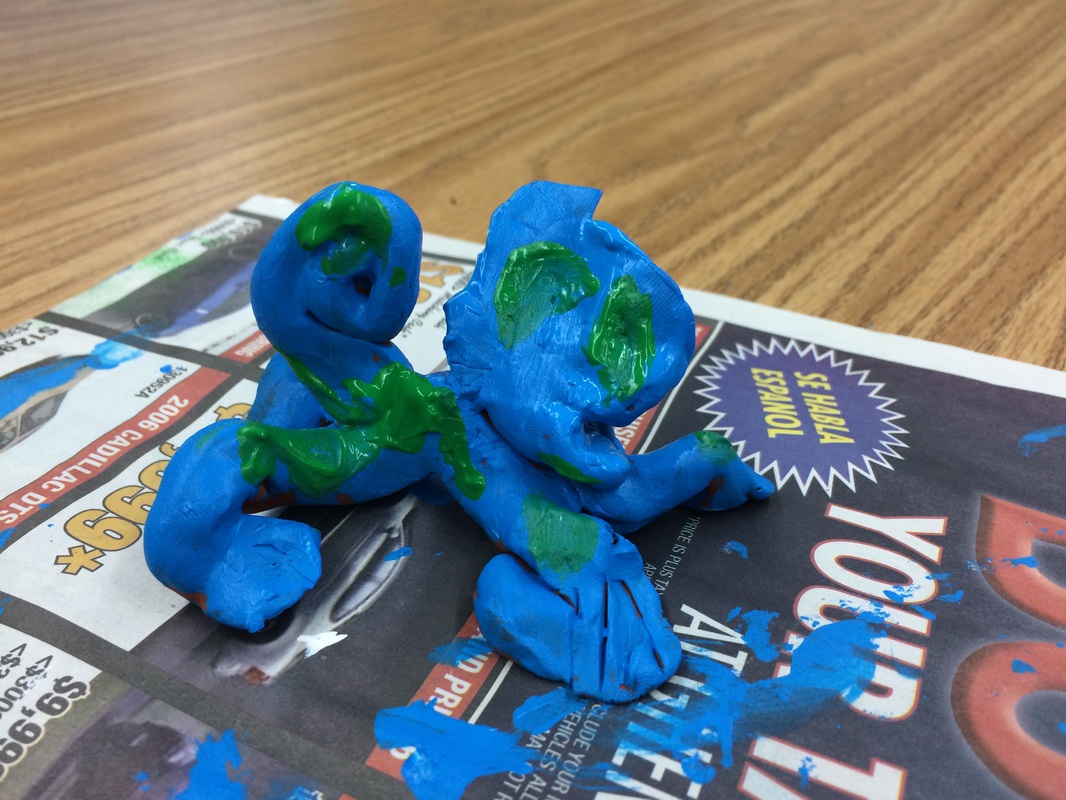
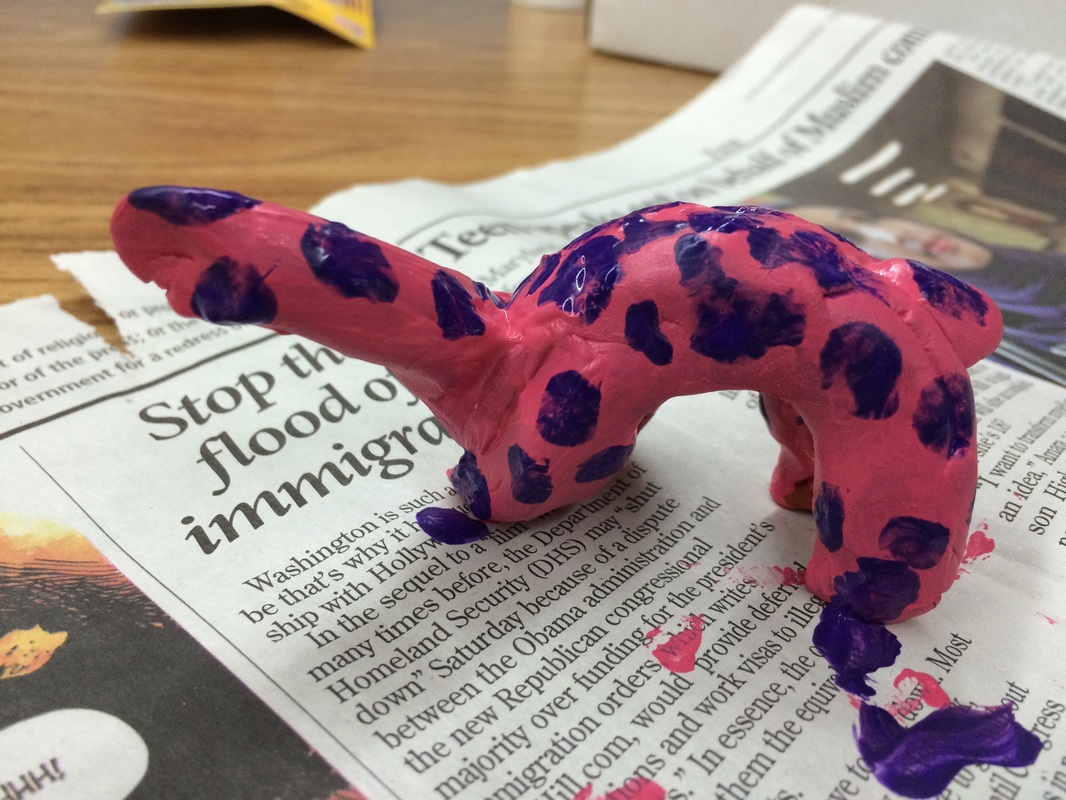
During this lesson, students became mad scientists to create a new creature that is a mixture of known animals. Students were shown examples of drawn animal mixtures and used a online game called Switchzoo to begin thinking about how animals could be combined. Students then used a planning handout to chose what animals they wanted to combine, breaking it down into a head, body and tail. On this handout students sketched out their new creature and began thinking of its name, often being a combination of all the animal names that were used to create the creature. Then students used Sculpey clay to create a 3D version of their creation. After it was baked students painted it and then began drawing a background for the habitat their creature would live in. Once all the animals and backgrounds were finished, students created a class zoo of all of their newly invented creatures.
Lesson Objectives with Aligned Standards:
Using how to draw animal handouts as a reference, students will be able to draw multiple animals. (Bloom’s: Apply, Standard: Comprehend, GLE: Art represents and renders the stories of people, places, or things, Art Learning: Characteristics and expressive features of art)
Using the Mad Scientist combination handout, students will be able to draw an animal that is a combination of 2 or 3 existing animals by selecting a head, body and tail. (Bloom’s: Create, Standard: Create, GLE: Create art to communicate ideas, feelings, or emotions, Art Learning: conceptual/ideation/personal grounding)
Using sculpey and acrylic paint, students will be able to follow the steps to create a 3D animal form and add details to create their new combination animal and paint it. (Bloom’s: Create, Standard: Create, GLE: Create art to communicate ideas, feelings, or emotions, Art Learning: Materials/Techniques, Numeracy: Sequence of steps)
Using paper and crayons/color sticks, students will be able to draw and color a background that resembles the environment their new creature lives in and fold it so it stands up in a triangle shape. (Bloom’s: Create, Standard: Comprehend, GLE: Art represents and renders the stories of people, places, or things, Art Learning: Characteristics and expressive features of art, Numeracy: Sequence of steps)
After creating a class zoo on classroom tables, students will be able to respond and reflect on their own and peers’ animal creations. (Bloom’s: Analyze, Standard: Reflect, GLE: Visual arts provide opportunities to respond to personal works of art and the art of others, Art Learning: Critical refection/ aesthetics/ transfer, Literacy)
Assessment:
For this lesson, students were assessed on how well they met each lesson objective regarding effort, skill and creativity.
|
|
|
| animal combination lesson plan |
Mini Lesson: Abstract Paper Sculptures (Kindergarten)
Lesson Description:
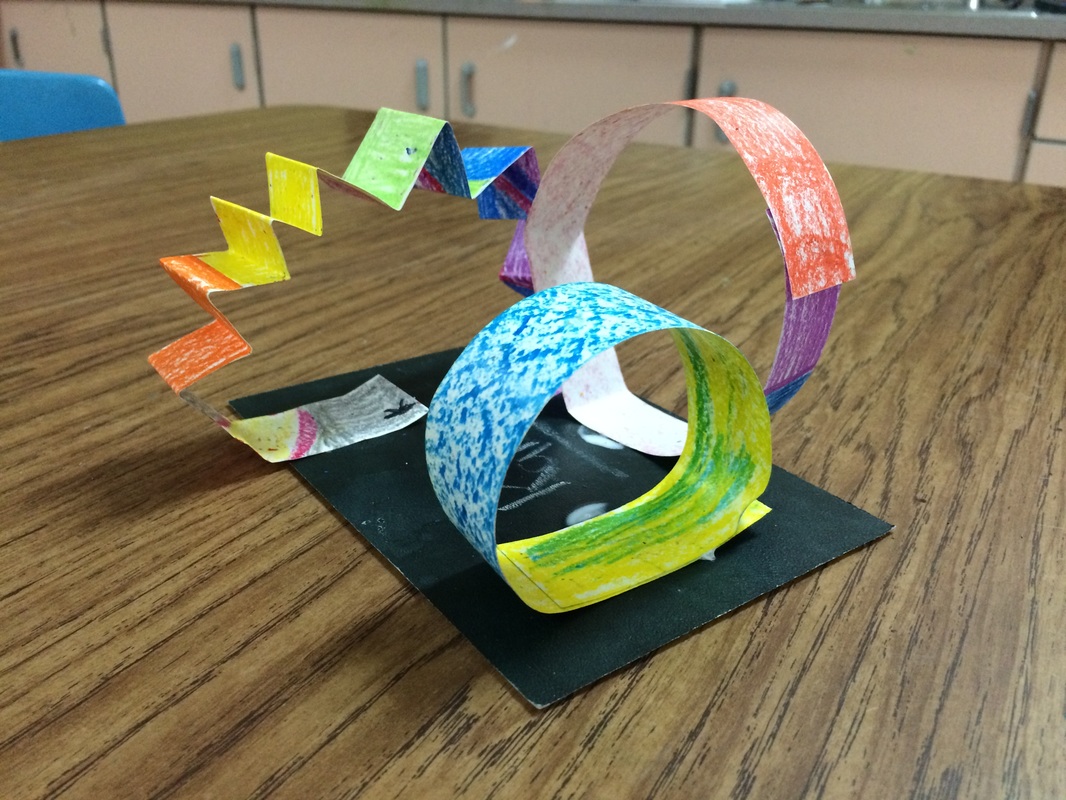
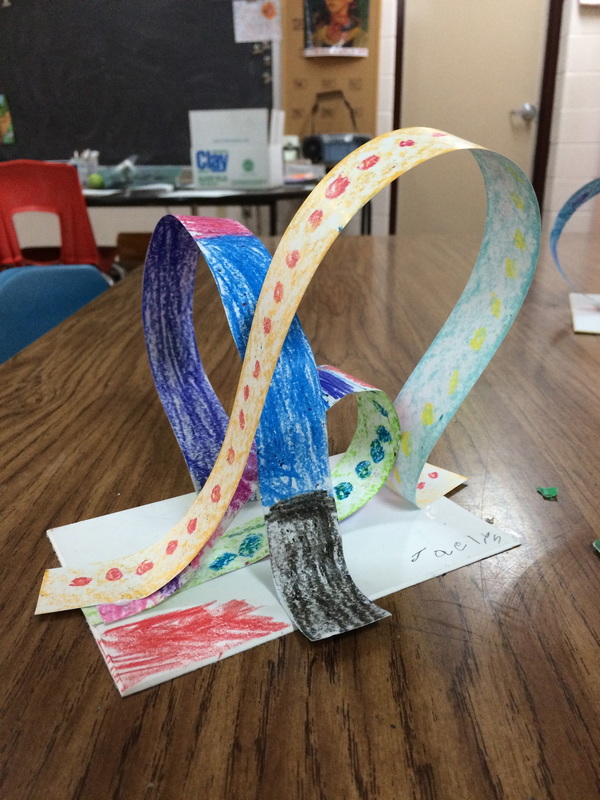
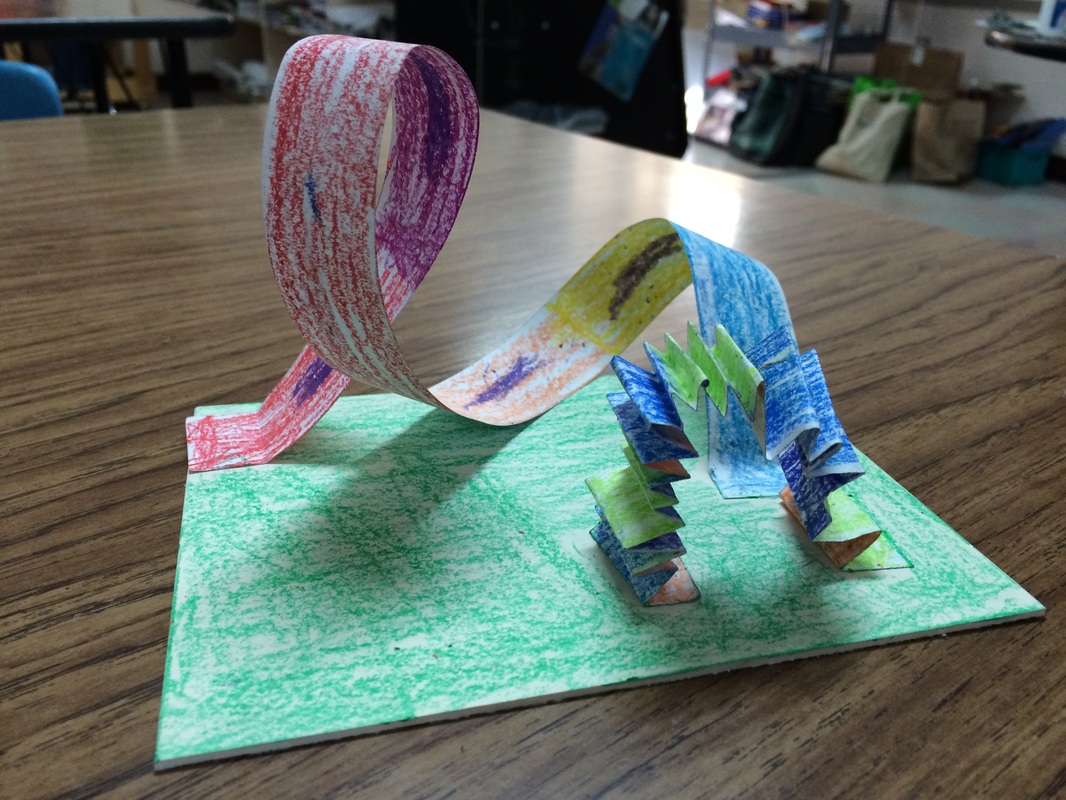
To start this lesson students were given strips of papers and crayons to begin coloring them and adding shapes and patterns, that they had been learning about in their class. The next class I showed students examples of paper sculptures to spark their interest then proceeded to teach them multiple ways to fold, bend and twist paper to make abstract and 3D objects. The students began to use these different techniques and glue to create their abstract sculptures. Some students used their imaginations to make their sculpture come to life and become a playground or roller coaster. Through this lesson students were introduced to 2D art that can become 3D, or 'pop out".
Lesson Description:
To start this lesson students were given strips of papers and crayons to begin coloring them and adding shapes and patterns, that they had been learning about in their class. The next class I showed students examples of paper sculptures to spark their interest then proceeded to teach them multiple ways to fold, bend and twist paper to make abstract and 3D objects. The students began to use these different techniques and glue to create their abstract sculptures. Some students used their imaginations to make their sculpture come to life and become a playground or roller coaster. Through this lesson students were introduced to 2D art that can become 3D, or 'pop out".
|
|
|
